


Product mockups are a great way to showcase your designs, branding and products in a very realistic, natural and visually appealing way. Mockups help us visualize the design concepts and make decisions on colour schemes, layouts and overall aesthetics.
Many designers use tools like Adobe Photoshop to create product mockups. However, if we wish to achieve the same programmatically then the severe lack of documentation and resources proves to be a major hurdle.
This is where ImageMagick comes in, a very powerful and open-source command-line tool that allows us to create, edit and convert images to a variety of formats. With certain steps and calculations, we can also generate product mockups very easily, preferably using code, without the use of any graphical user interface
In this blog, I will share my journey of discovering and using ImageMagick to generate product mockups. I will try to cover a few basics first, then move on to creating full-blown product mockups with code and also share the tips and tricks which I learnt along the way. Let's dive in!
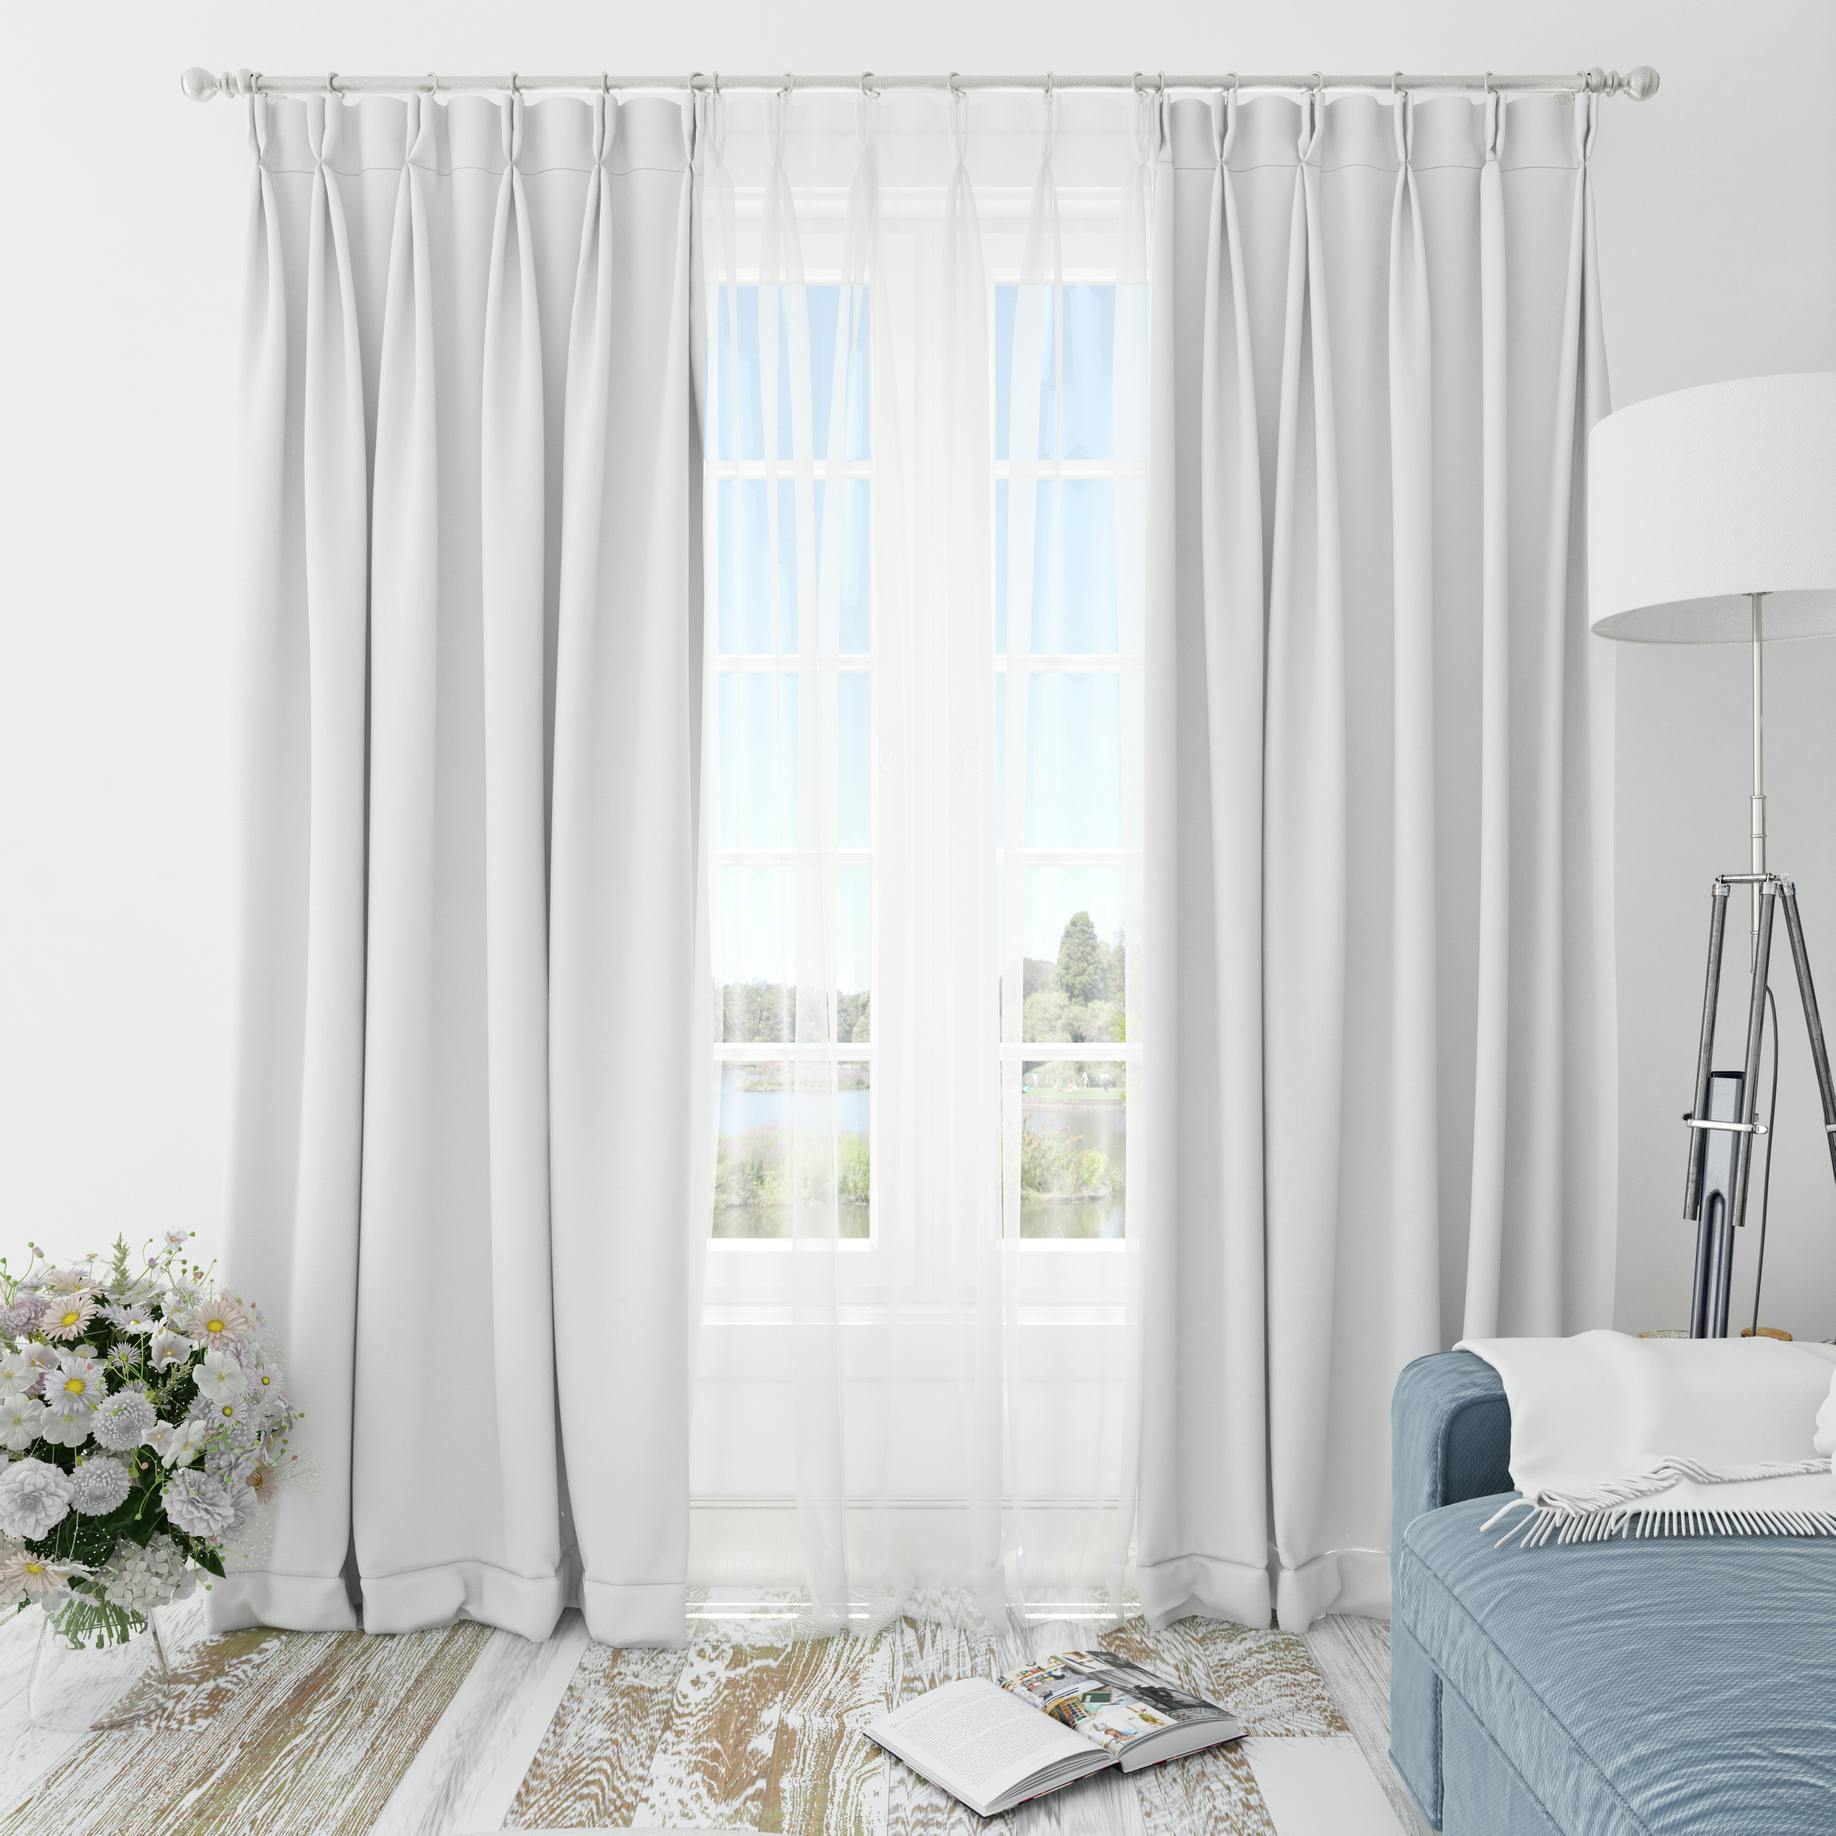
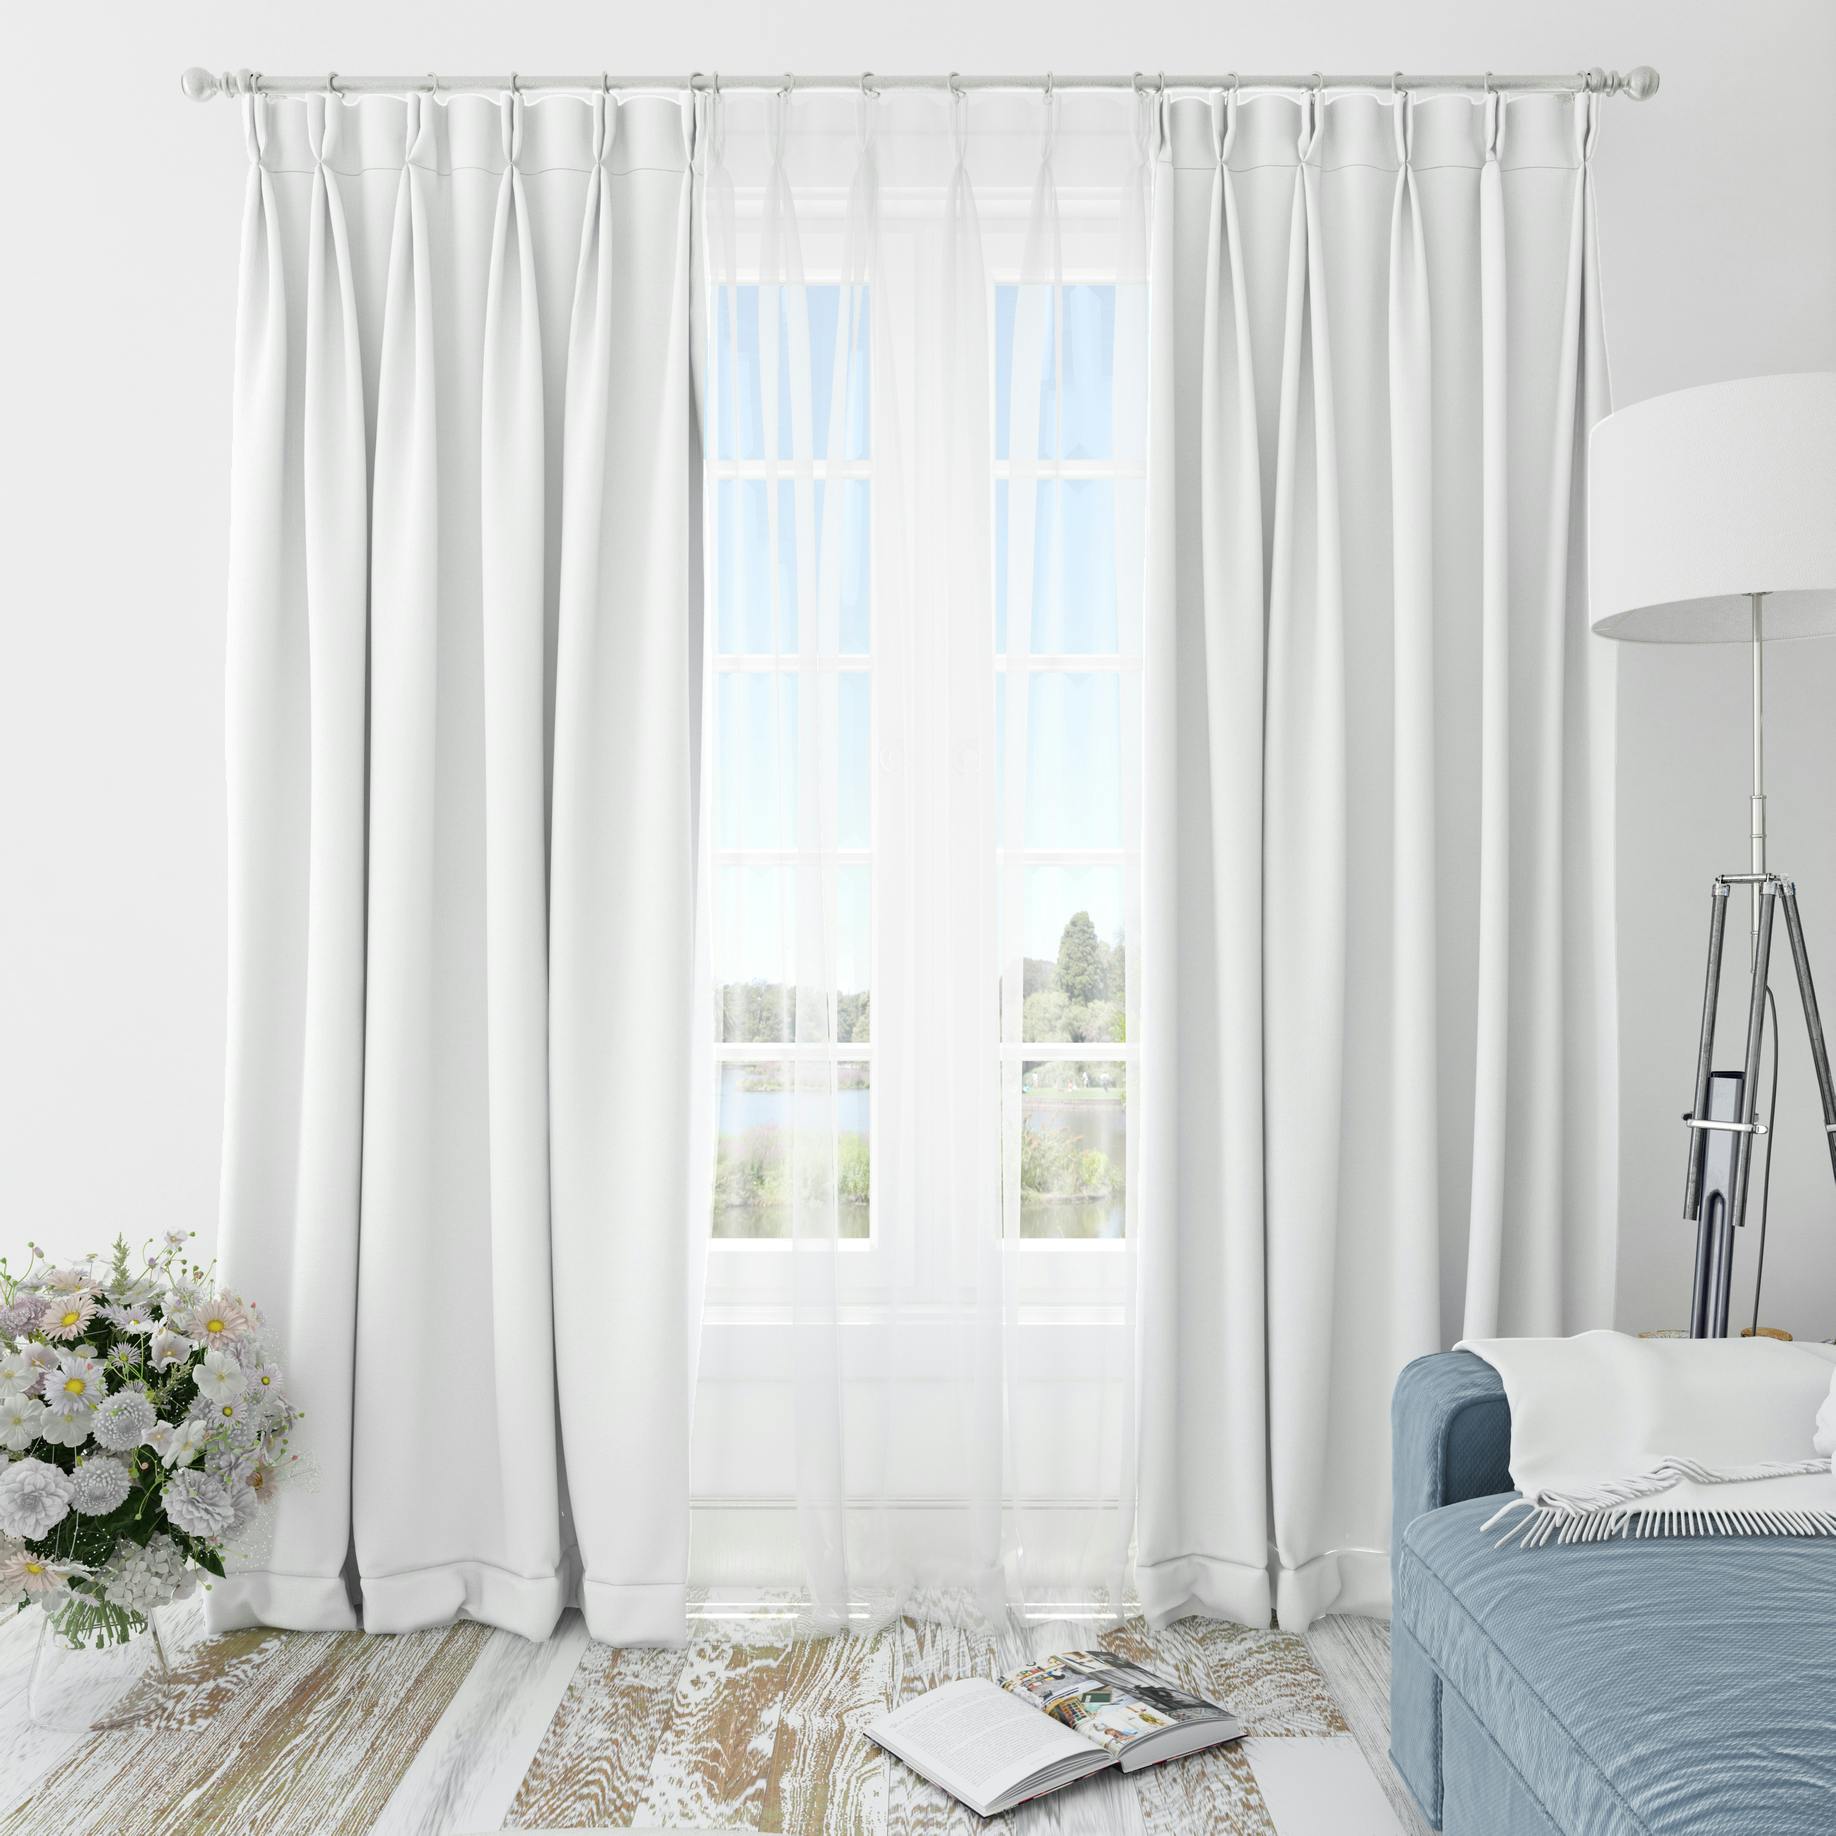
Let's start with a base template and it's mask
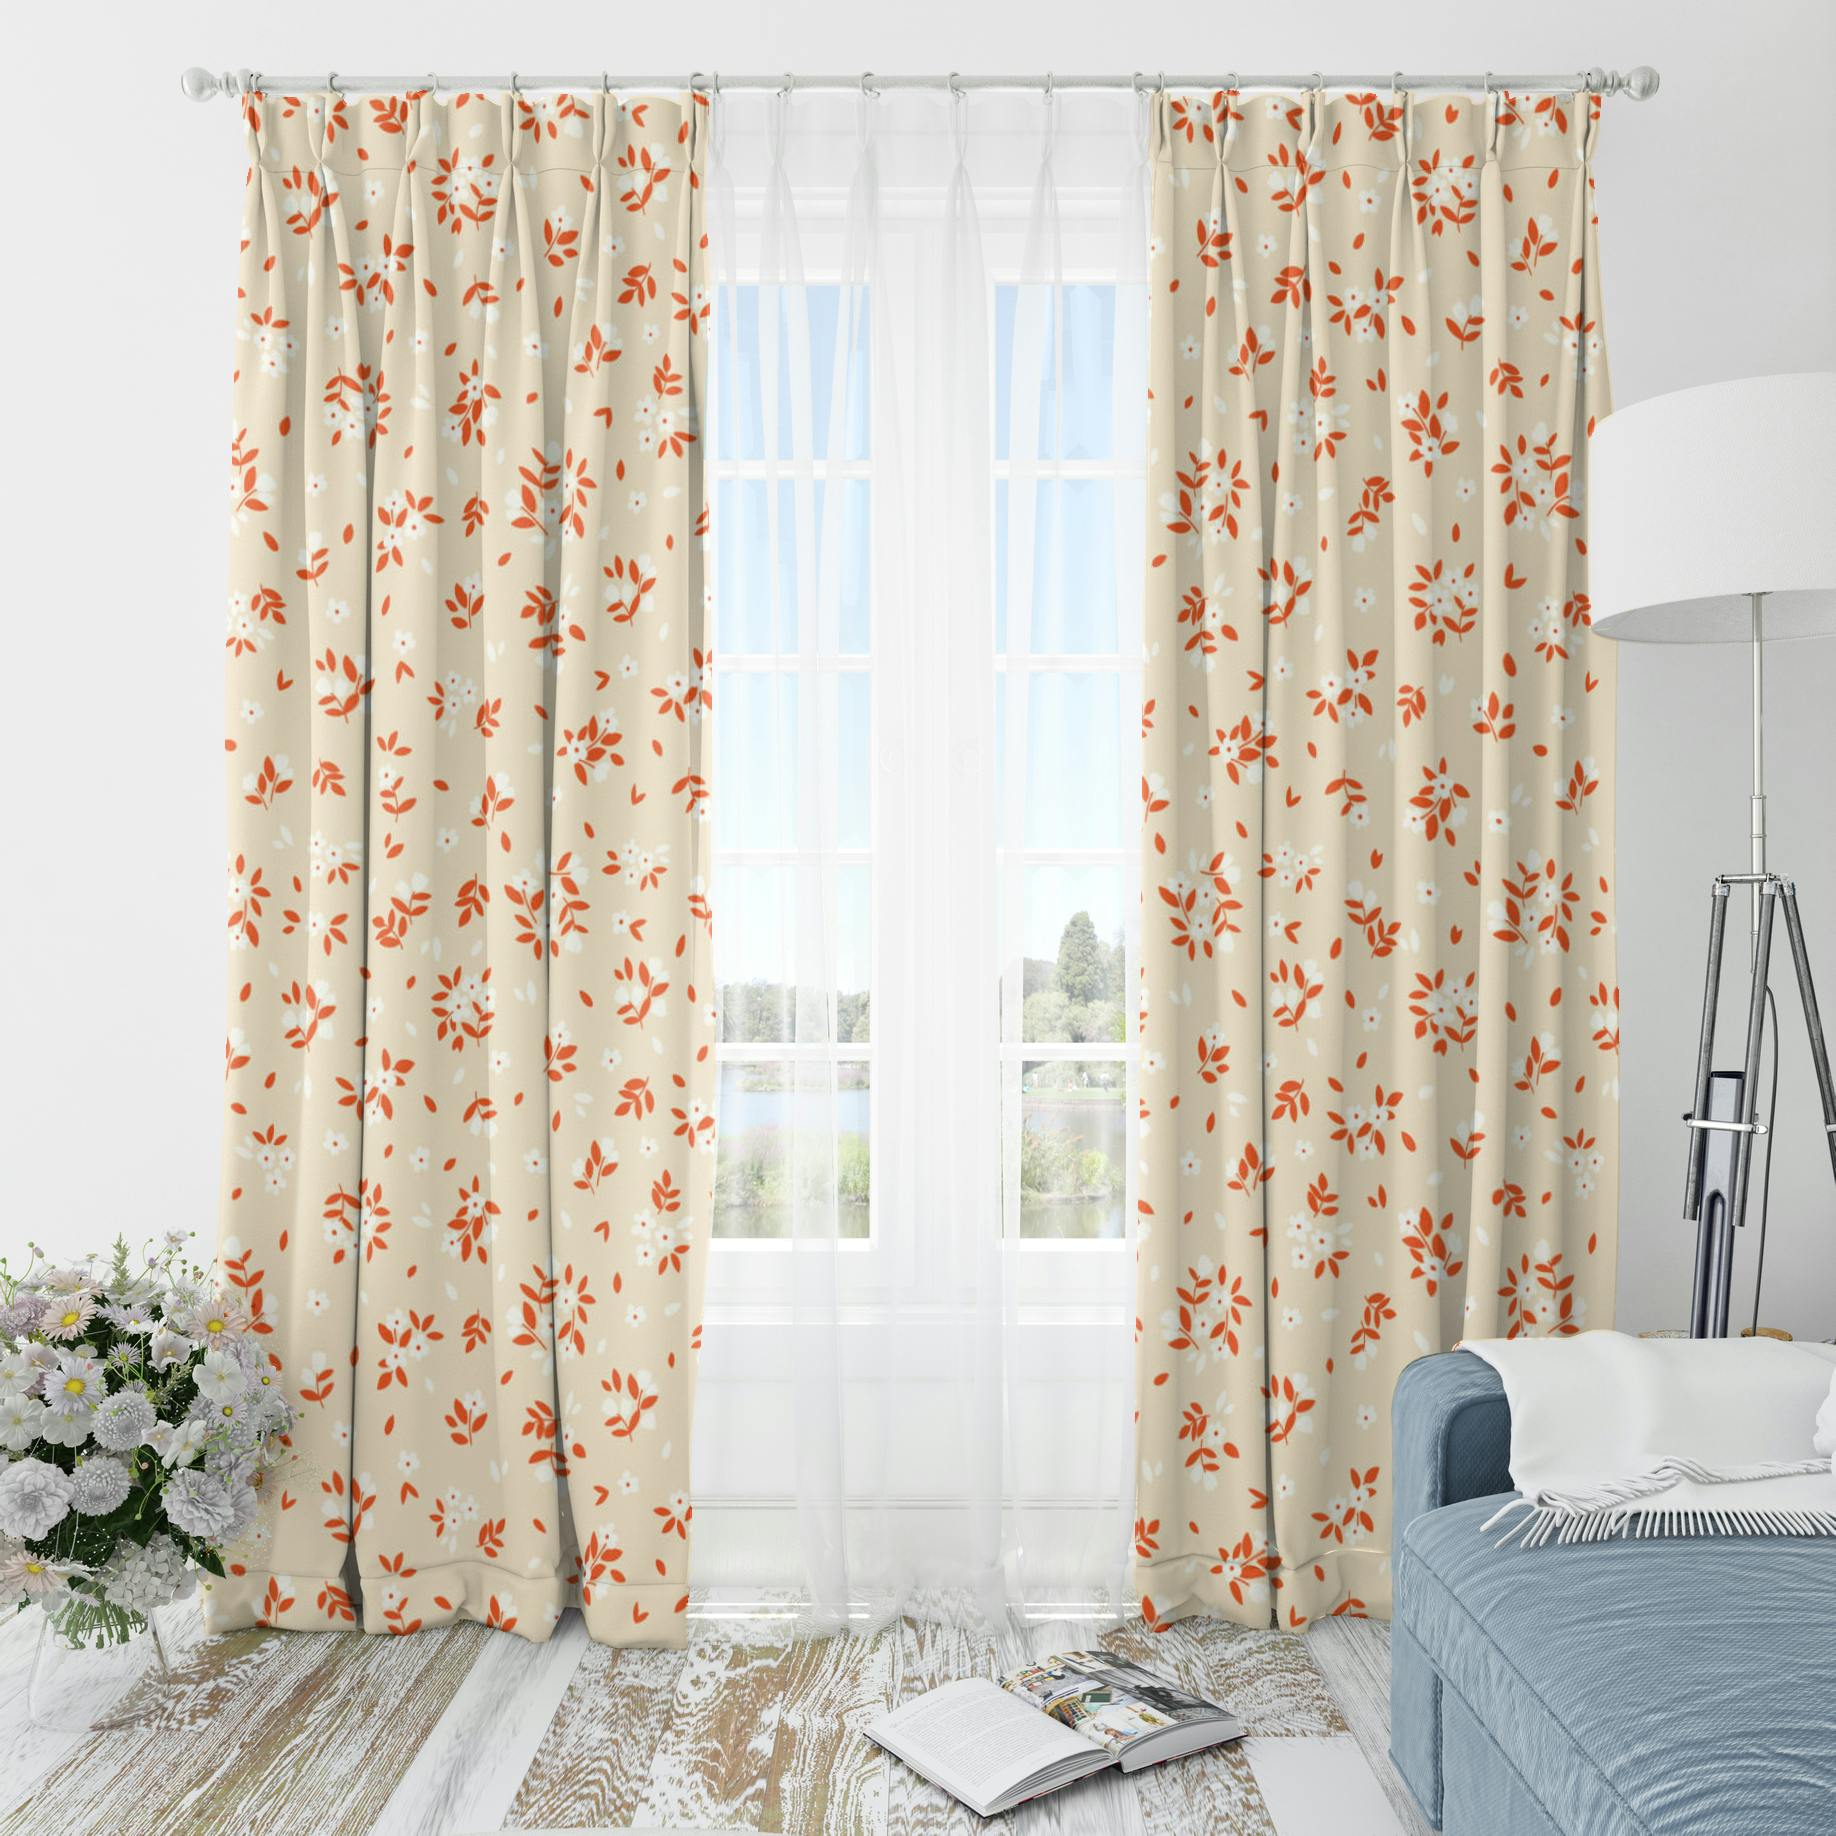
This is the base template image of a curtain which we will be using.
And this 👇 will be the mask of curtains where we are supposed to place our image (turn on dark theme, on the right side of navbar at the top of this page)

You want to know how to generate mask?
Well, that's for another blog post, you can either create it manually using any open source image manipulation tool like GIMP or you can go the Machine Learning route and try the Segment-Anything Model (SAM)
Adjustment map
First, we would like to create an adjustment map of the base template image. It is a mask image which contains the shades of grey that correspond to the desired adjustments in brightness and contrast for the output image.
In our example, we will be using the DivideSrc composition operator, which divides the brightness of the base template by the brightness of the mask image. The resulting image has brightness and contrast adjustments that are proportional to the values of the mask image.
convert template.jpg \( -clone 0 -fill "#f1f1f1" -colorize 100 \) mask.png -compose DivideSrc -composite adjustment_map.jpg
Let's break down the command
convertcommand is used to convert images from one format to another, or to modify images in various ways.template.jpgis the first input image which will be used as the base template.\( -clone 0 -fill "#f1f1f1" -colorize 100 \)is a set of commands that create a grayscale mask image that will be used to adjust the brightness and contrast of the output image.\(and\)are used to group commands together so they can be treated as a single object.-clone 0creates a clone of the first input image, i.e.template.jpg-fill "#f1f1f1"sets the fill colour to a light grey colour.-colorize 100applies a 100% colourize effect, which turns the image into a greyscale image with the chosen fill colour.
mask.pngis the mask of curtains in the base template.-composite DivideSrcsets the composition operator toDivideSrc, which will adjust the brightness and contrast of the output image based on the values of the mask image.-compositeperforms a composition operation on the input images, using the specified composition operator (mentioned above).adjustment_map.jpgis the output image that will be created as a result of the composition operation.- It is a modified version of the original
template.jpgimage, with brightness and contrast adjusted based on the values ofmask.pngimage.
- It is a modified version of the original
This is what the adjustment map looks like, it looks very similar to the base template.
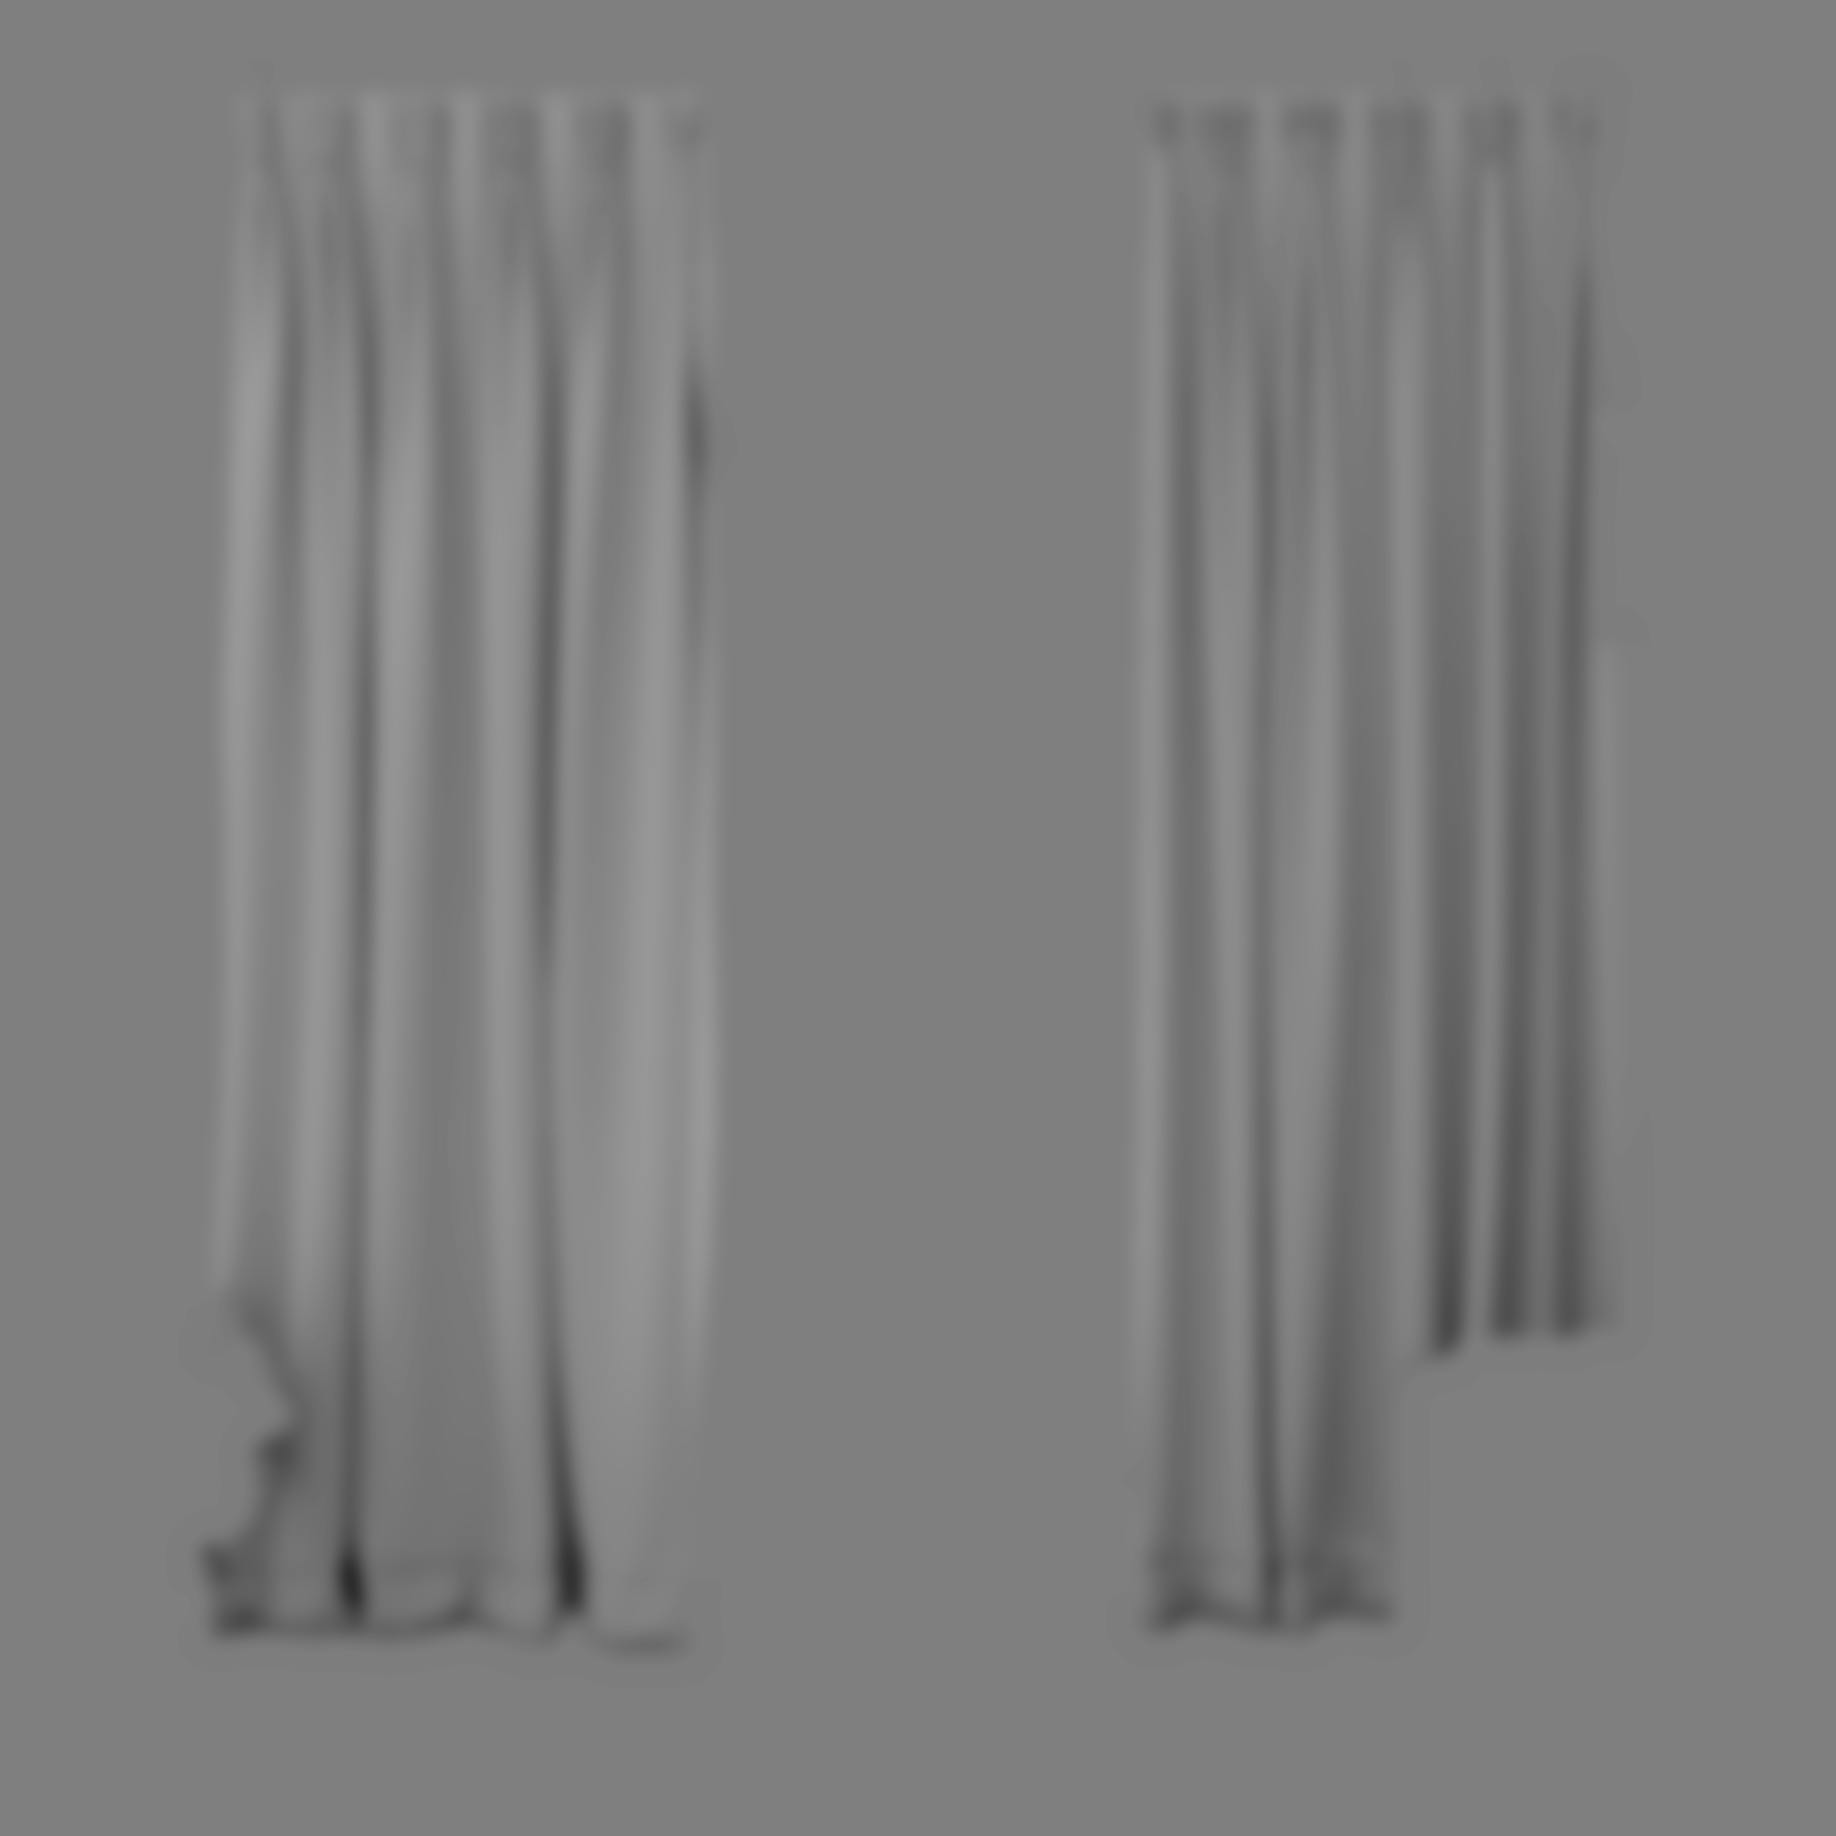
Displacement map
It is an image that is used to modify the geometry of an image or texture. It works by using the pixel values of displacement map to shift the pixels of the target image or texture, creating a distorted or displaced effect.
In a displacement map, the greyscale values represent the amount and direction of displacement. Black pixels indicate no displacement, while white pixels indicate maximum displacement. Grey pixels represent intermediate levels of displacement and can create subtle variations in the effect.
Displacement maps are commonly used in computer graphics and image processing to create effects such as water ripples, terrain deformations and 3D object distortions. They can be created manually, or generated automatically from other images or data sources using various algorithms and techniques provided by ImageMagick.
convert template.jpg mask.png -alpha off -colorspace gray -compose CopyOpacity -composite normalized_map_tmp.mpc
Here is the breakdown of the above command
convertis used to convert images from one format to another, or to modify another image.template.jpgis the first input image, which will be used as a template.mask.pngis the second input image, which will be used as a mask image.-alpha offturns off the alpha channel (transparency) for both images.-colorspace grayconverts both images to grayscale.-compose CopyOpacitysets the composition operator toCopyOpacity, which copies the alpha channel from the mask image to the template image.-compositeperforms a composition operation on the input images, using the specified composition operator.normalized_map_tmp.mpcis the output image that will be created as a result of the composition operation. It will be a grayscale image with the same dimensions as the input images, where the values of each pixel are determined by the corresponding pixel values in the input images.
In summary, the command is creating a grayscale image where the values of each pixel are determined by the corresponding pixel values in the template image, but with the alpha channel copied from the mask image. This effectively applies the transparency of the mask image to the template image, creating a grayscale image with transparency information that can be used for further image processing.
convert normalized_map_tmp.mpc -evaluate subtract 30% -background grey50 -alpha remove -alpha off displacement_map_tmp.mpc
Now, we pass the normalized_map_tmp.mpc to another set of commands, here is the breakdown
convertis the command used to convert images from one format to another, or to modify images in various ways.normalized_map_tmp.mpcis the input image, which is the grayscale image created by the previous command.-evaluate subtract 30%subtracts 30% from the values of each pixel in the input image.Why 30%?
I found this value to work very well for my use case. Feel free to experiment.
-background grey50sets the background colour to a neutral grey colour.-alpha removeremoves any alpha channel from the image.-alpha offturns off the alpha channel (transparency) for the image.displacement_map_tmp.mpc: This is the output image that will be created as a result of the modification operations.- It will be a grayscale image with the same dimensions as the input image, but with modified pixel values.
In summary, the command is modifying the input grayscale image by subtracting 30% from the values of each pixel, setting the background colour to a neutral grey, and removing the alpha channel. The resulting image is then saved as the output image, displacement_map_tmp.mpc
This type of displacement map can be used in various image manipulation techniques, such as creating depth maps, generating 3D effects, and creating textures.
Lastly ...
convert displacement_map_tmp.mpc -blur 0x10 displacement_map.png
This command is performing a blur operation and then saves the output as a PNG file. -blur 0x10 applies a Gaussian blur to the input image with a radius of 10 pixels
In summary, the command is applying a Gaussian blur to the input image using a radius of 10 pixels, which will smooth out any sharp transitions in the image and create a softer, more diffuse effect. The resulting blurred image is then saved as a PNG file named displacement_map.png. This type of blurred displacement map can be used in various image manipulation techniques, such as creating a motion blur effect or simulating a defocused or out-of-focus look in a photograph.
This is what the displacement map looks like.
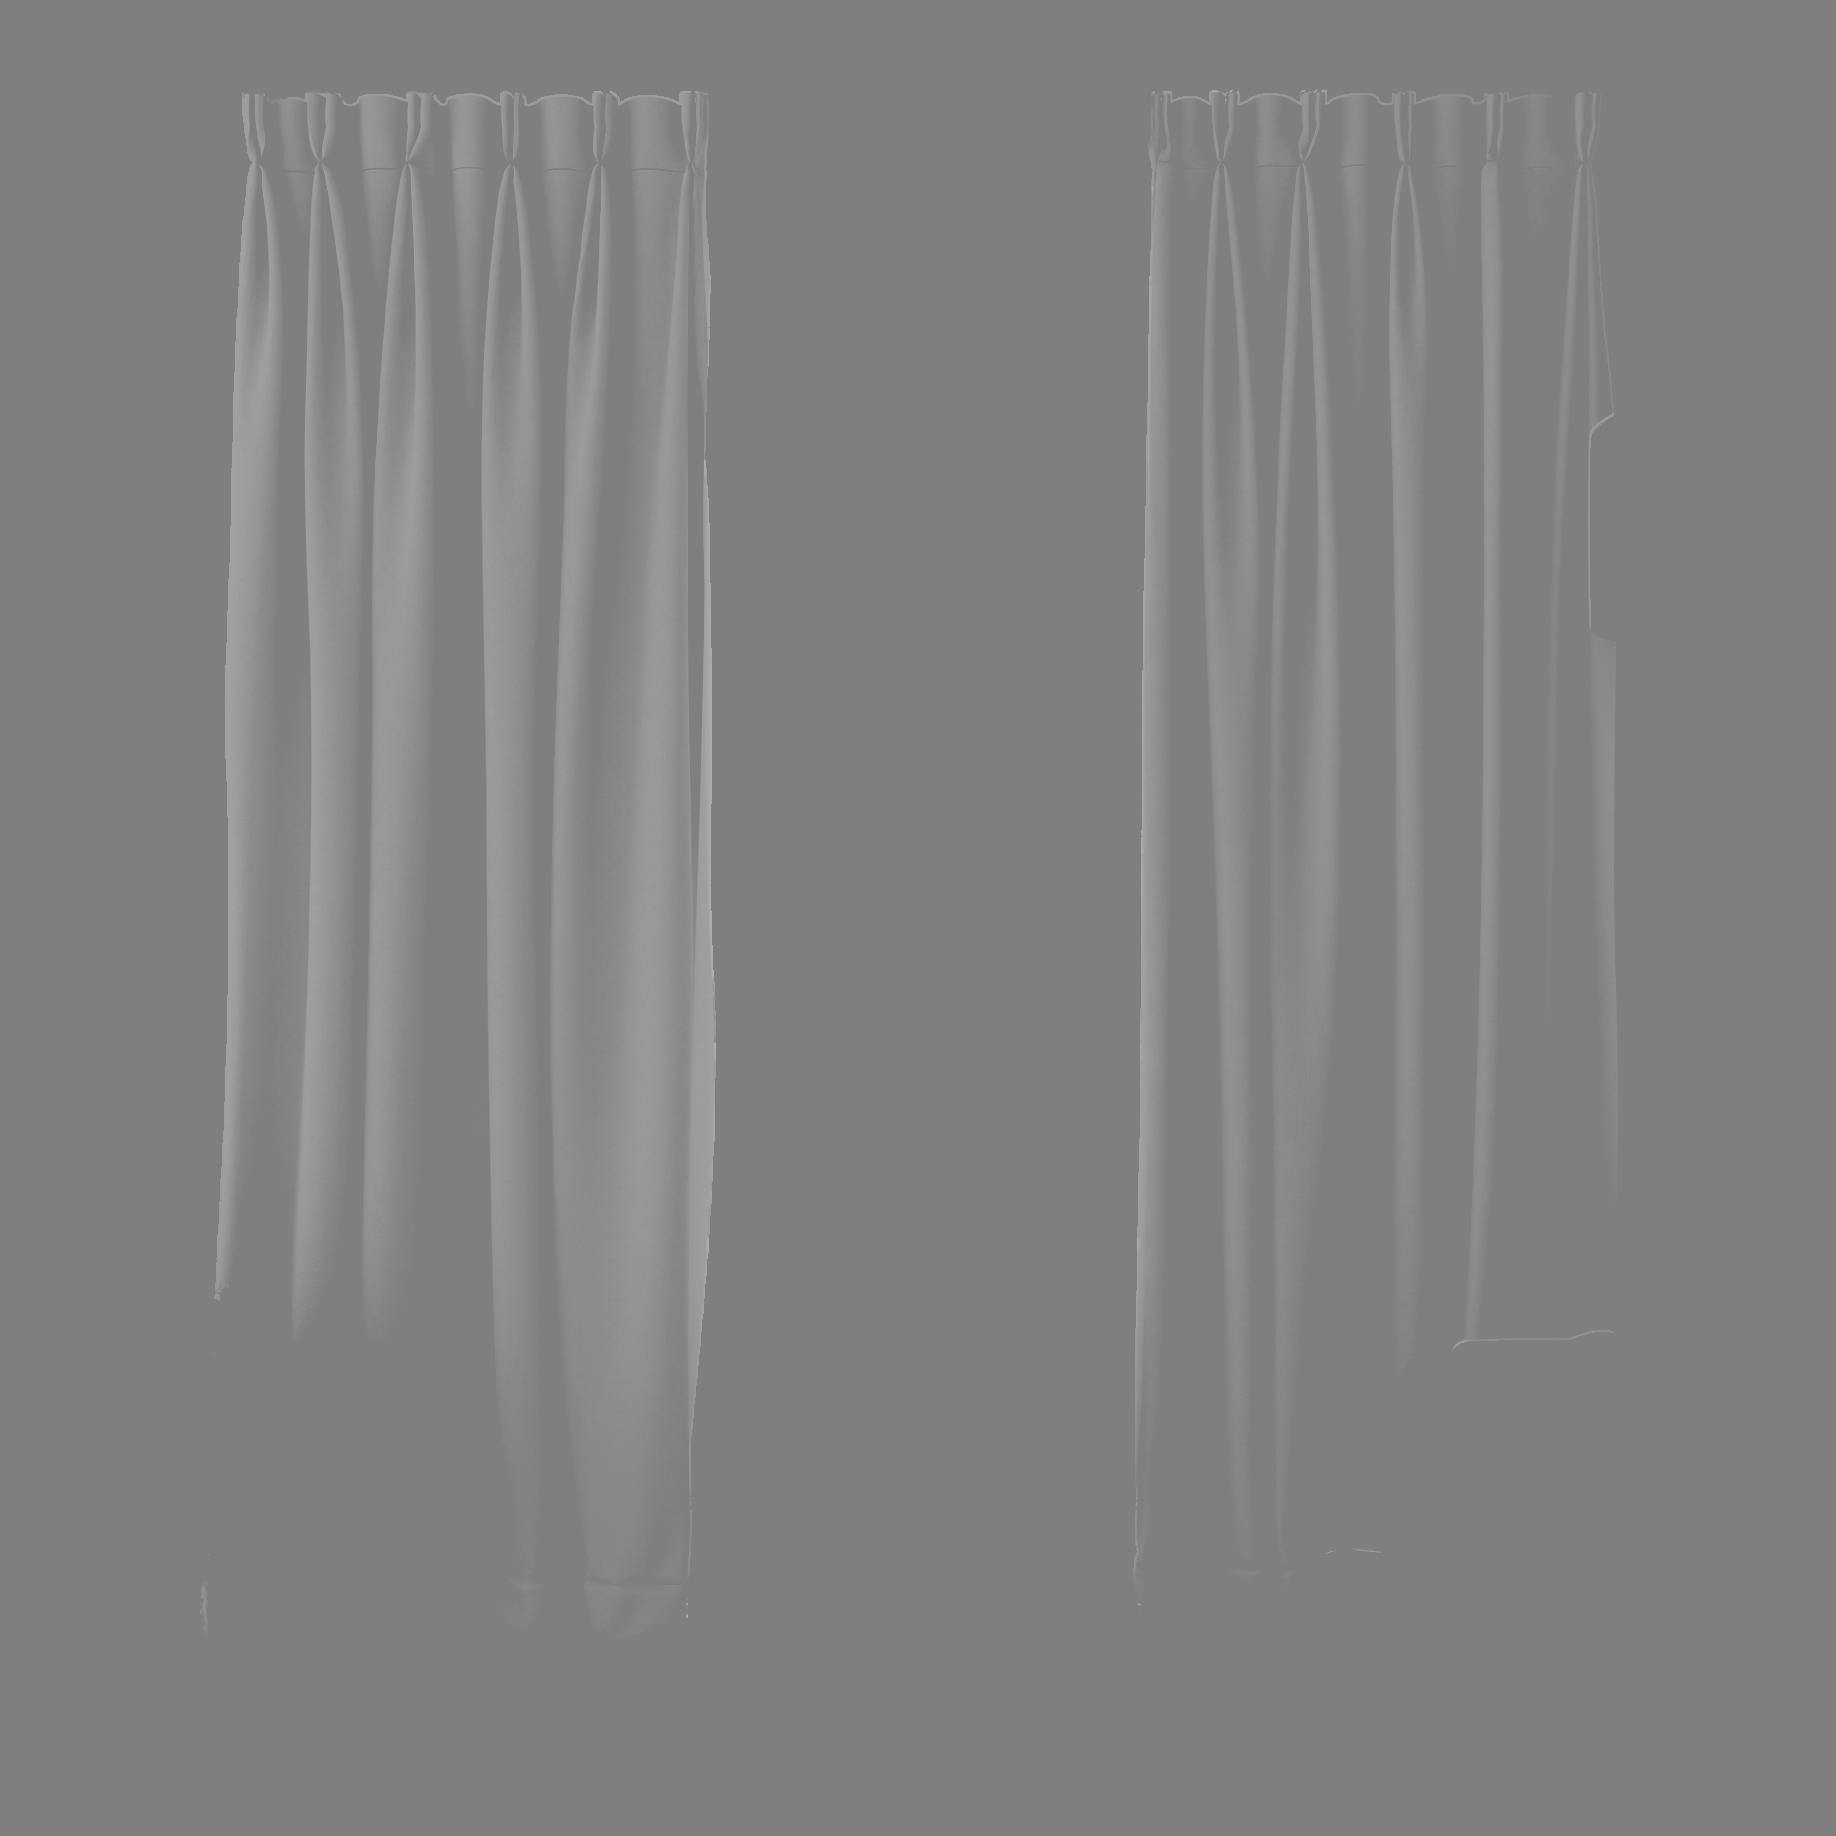
Lighting map
It is a 2D image that is used to simulate the lighting effects on a 3D surface. It is often used in video games and other real-time graphics applications to create the illusion of complex lighting without the performance overhead of calculating actual light sources and their interactions in real-time.
A lighting map typically encodes information about the intensity and direction of light hitting each point on the surface of a 3D object. This information is often represented using greyscale or colour values that indicate the amount and colour of light that should be applied to each point on the surface
In image processing, a lighting map can be used to apply lighting effects to a 2D image, simulating the way light would fall on a real-world object. It can be used for realistic shadows, highlights and other lighting effects on a 2D image, making it look more three-dimensional and visually interesting, like a product mockup.
convert normalized_map_tmp.mpc -evaluate subtract 30% -background grey50 -alpha remove -alpha off lighting_map_tmp.mpc
convertis the command used to convert images from one format to another, or to modify images in various ways.normalized_map_tmp.mpcis the input image, which is a grayscale image created by the previous ImageMagick command (see Displacement map section)-evaluate subtract 30%subtracts 30% from the pixel values in the input image. This will darken the image since it is reducing the overall brightness of the image.-background grey50sets the background colour for the image to medium grey colour.-alpha remove -alpha offremoves the alpha channel (transparency) from the image if it exists.lighting_map_tmp.mpcis the output image that will be created as a result of the image processing operations. It will be a greyscale image with the same dimensions as the input image, but with reduced brightness and no alpha channel.
In summary, the command is creating a version of the input image with reduced brightness, which can be used as a lighting map for a 3D graphics application or other image processing techniques. The alpha channel is removed from the image to ensure that it has a consistent appearance across all pixels.
convert lighting_map_tmp.mpc \( -clone 0 -fill grey50 -colorize 100 \) -compose lighten -composite lighting_map.png
convertis the command used to convert images from one format to another, or to modify images in various ways.lighting_map_tmp.mpcis the first input image, which is a grayscale image that was created by the previous ImageMagick command.-clone 0creates a copy of the first input image.-fill grey50 -colorize 100fills the cloned grayscale image with a medium grey colour (grey50) and then applies a colourize operation, which changes the hue and saturation of the image to 100% grey. This creates a solid grey colour image that will be used as a layer in the final composition.-compose lighten -compositecomposites the two input images together using a lighten blend mode. This blend mode will keep the brighter of the two input pixels in the output image. The resulting image will be a combination of the original lighting map and the solid grey colour image, with the solid grey colour image acting as a layer on top of the lighting map.lighting_map.pngis the output image that will be created as a result
This is what the lighting map looks like
Generate the final product mockup
Now we have all the infinity stones required to create our product mockup

Add a border
convert artwork.png -bordercolor transparent -border 1 tmp.mpcAdds a 1px transparent border around the artwork
Modified output iamge will be saved in an MPC file (Magick Persistent Cache)
MPC is a high-performance, disk-based image format used by ImageMagick for temporary files and caching
Do perspective transform
convert template.jpg -alpha transparent \( tmp.mpc +distort perspective "0,0,100,0,0,3000,100,4000,1500,3000,1700,4000,1500,0,1700,0" \) -background transparent -layers merge +repage tmp.mpc"0,0,100,0,0,3000,100,4000,1500,3000,1700,4000,1500,0,1700,0"defines a set of 8 coordinates that will be used to define the perspective distortion to be applied to thetmp.mpcimage.-alpha transparentsets the alpha channel of the input image to transparent.+distort perspective "0,0,100,0,0,3000,100,4000,1500,3000,1700,4000,1500,0,1700,0"applies a perspective distortion to thetmp.mpcimage using the coordinates defined. The distortion will warp the image so that it appears to be viewed from a different angle.-background transparentsets the background color to transparent.-layers mergemerges the two images together, with the distortedtmp.mpcimage overlaid onto the background image.+repageresets the virtual canvas of the image.
Set background colour to transparent
convert tmp.mpc -background transparent -alpha remove tmp.mpcOverall, this command removes the alpha channel from the input image and sets the background color to transparent.
Add displacement
convert tmp.mpc displacement_map.png -compose displace -set option:compose:args 20x20 -composite tmp.mpc-compose displacesets the image composition mode todisplace, which means that the displacement map will be used to shift the pixels of the base image.-set option:compose:args 20x20sets the arguments for thedisplacecomposition mode to20x20, which controls the amount of displacement in the X and Y directions. In this case, the value of 20 pixels is used for both directions.-compositecomposites the two images together using the specified composition mode and arguments.
Add highlights
convert tmp.mpc \( -clone 0 lighting_map.png -compose hardlight -composite \) +swap -compose CopyOpacity -composite tmp.mpc\( -clone 0 lighting_map.png -compose hardlight -composite \)creates a temporary layer by cloning the original image (-clone 0) and compositing it with thelighting_map.pngimage using the "hardlight" composition mode, which is a blending mode that increases contrast and saturation.+swapswaps the positions of the original image and the temporary layer.-compose CopyOpacitysets the composition mode toCopyOpacitywhich means that the opacity of the temporary layer will be applied to the original image.-compositecomposites the two images together using the specified composition mode and arguments.Overall, this command applies a lighting effect to the input image using the
lighting_map.pngimage as a reference.
Adjust colours
convert tmp.mpc \( -clone 0 adjustment_map.jpg -compose multiply -composite \) +swap -compose CopyOpacity -composite tmp.mpc\( -clone 0 adjustment_map.jpg -compose multiply -composite \)creates a temporary layer by cloning the original image (-clone 0) and compositing it with theadjustment_map.jpgimage using themultiplycomposition mode.This will darken the areas of the image where the adjustment map is dark and lighten the areas where it is light.
+swapswaps the positions of the original image and the temporary layer.-compose CopyOpacitysets the composition mode toCopyOpacity, which means that the opacity of the temporary layer will be applied to the original image.-compositecomposites the two images together using the specified composition mode and arguments.Overall, this command applies an adjustment effect to the input image using the
adjustment_map.jpgimage as a reference.
Create the final product mockup
convert template.jpg tmp.mpc mask.png -compose over -composite mockup.png-compose oversets the composition mode toover, which means that the second image will be composited over the first image-compositecomposites the second image over the first image using the specified composition mode and argumentsmask.pngis the mask image that will be used to blend the two input images togetherOverall, this command creates a mockup image by compositing the
tmp.mpcimage over thetemplate.jpgimage using themask.pngimage as a mask.The resulting image is saved as
mockup.pngThe mask is used to blend the two images together, so that the
tmp.mpcimage is only visible in the areas defined by the mask.
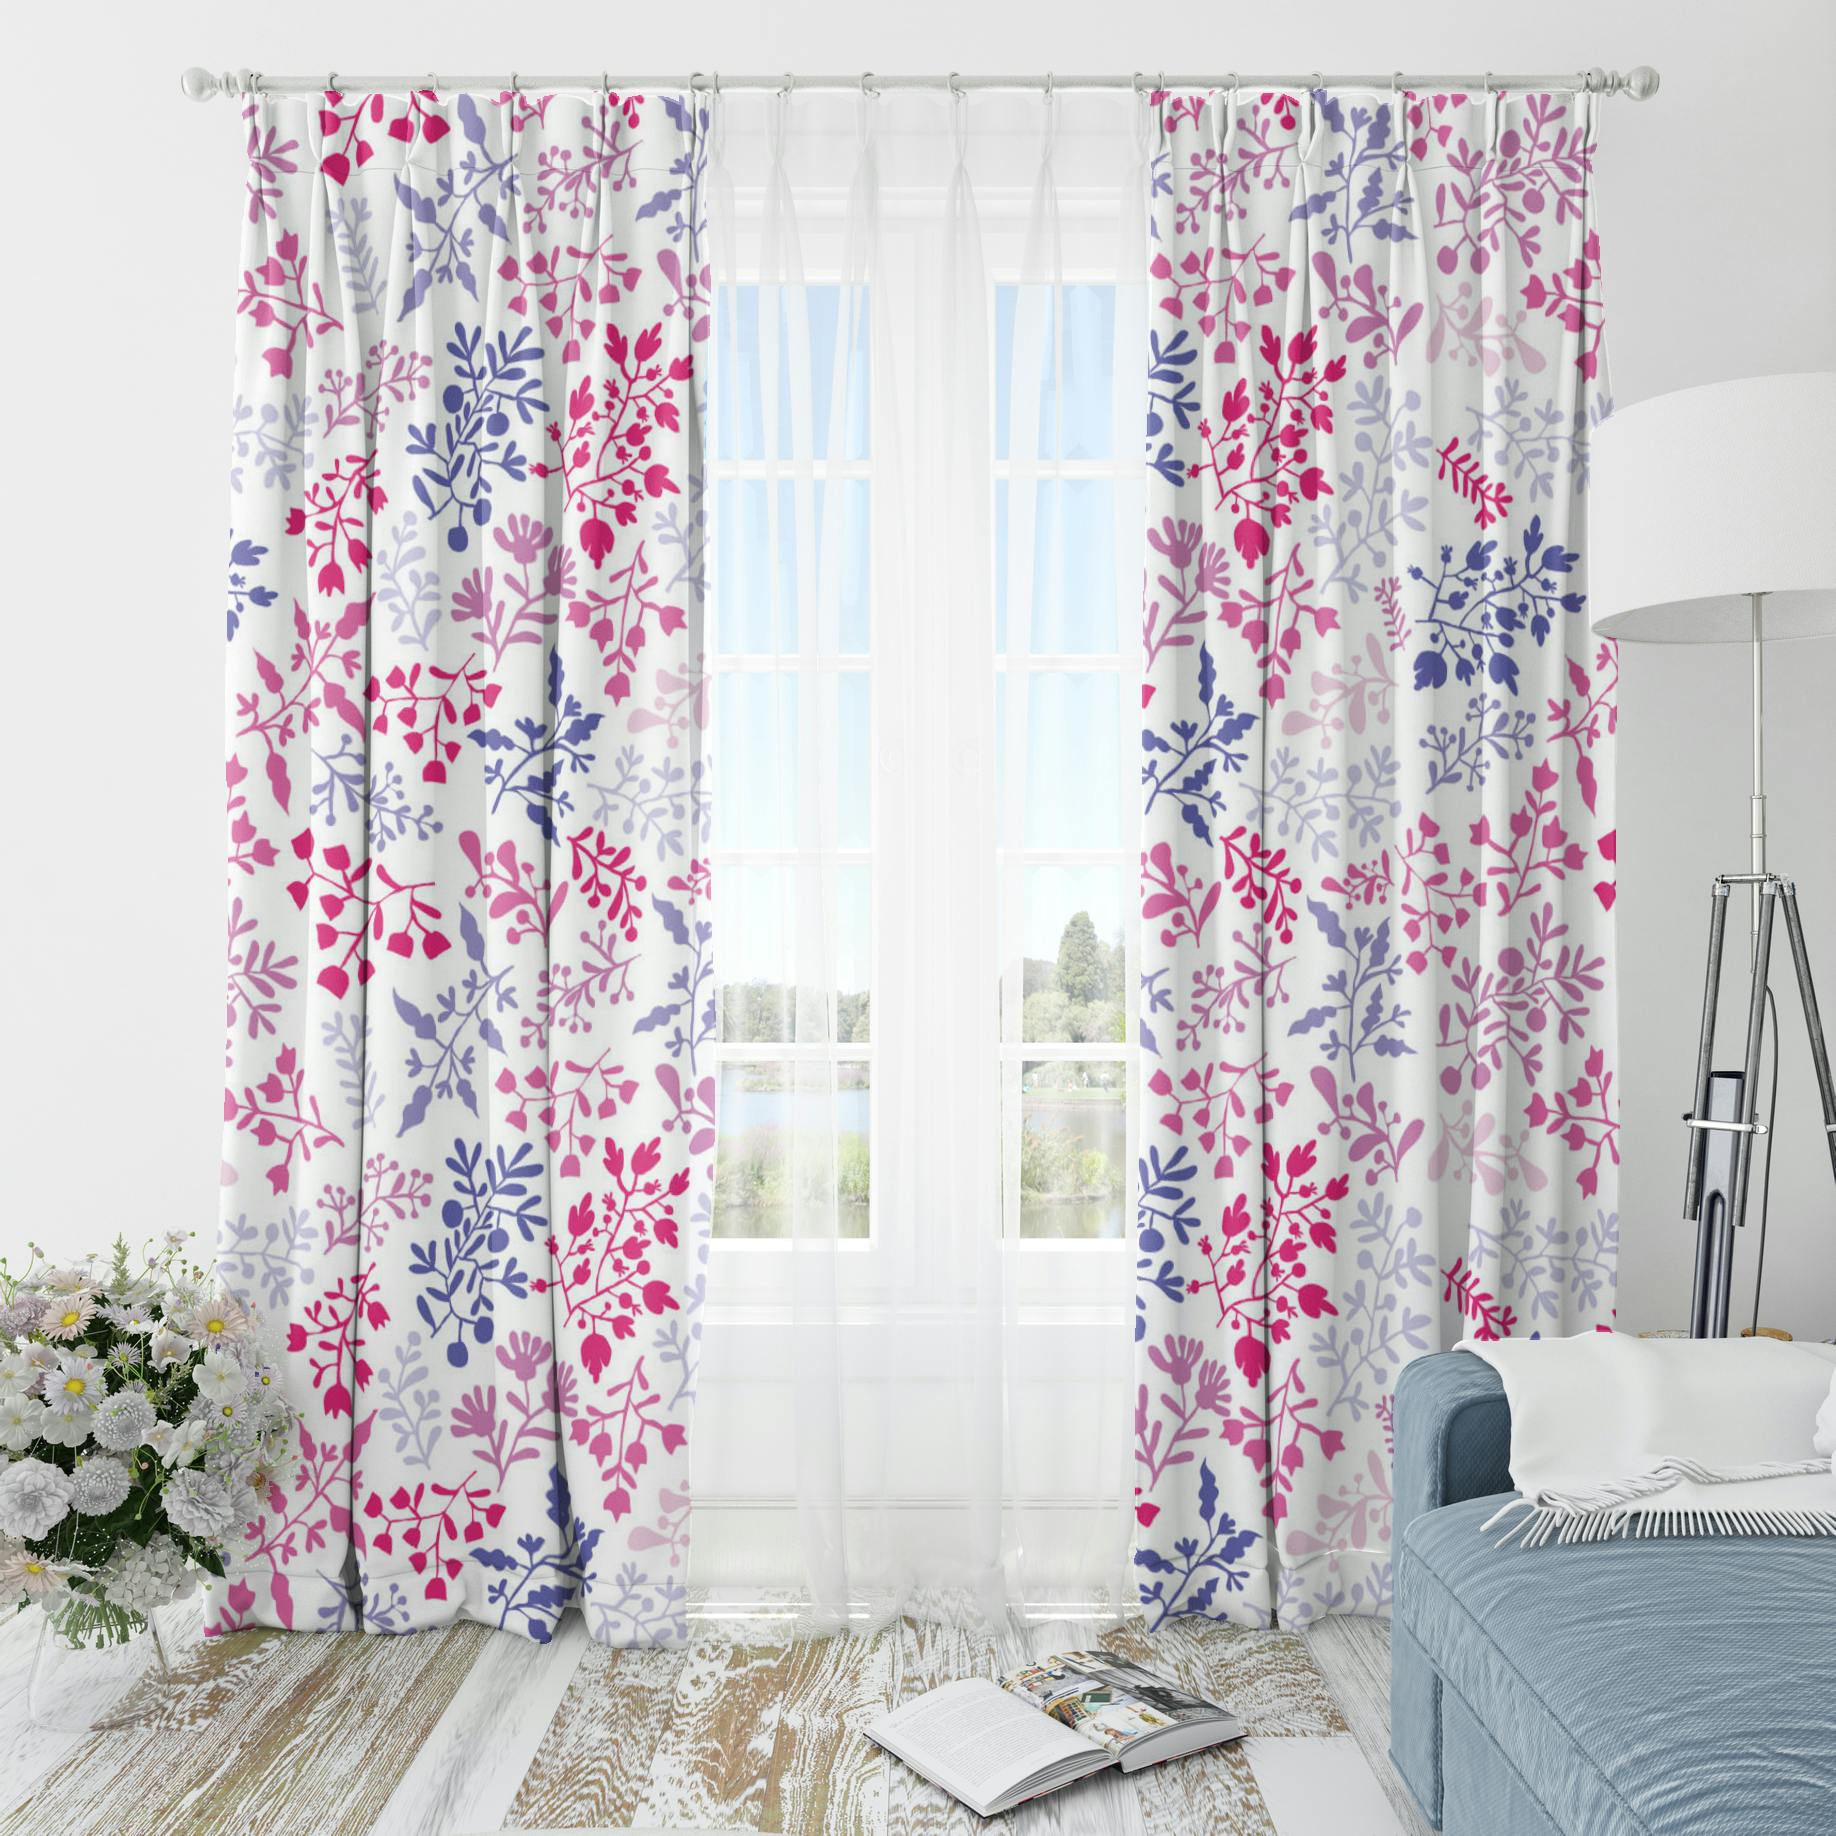
The final result looks something like this
Conclusion
ImageMagick is a very powerful tool for generating product mockups programatically. With it's wide range of features and flexibility, we can create professional looking products very quickly and easily. ImageMagick can certainly help bring your ideas to life.